Integrated Virtual Private Network (ivpn) Access Setup Guide
The Virtual Private Network (VPN) allows current staff and students to securely connect to the campus network from outside the university and access campus resources as if they were on-campus. To use the VPN service, the off-campus remote computers or mobile devices must have the VPN client software installed and users will always be prompted to authenticate upon connection. Once successfully authenticated, a secured and encrypted VPN connection will be established to allow remote access to the authorised resources on the campus network.
1. For Computers running Microsoft Windows or Mac OS
2. For mobile devices running iOS
1. For Computers running Microsoft Windows or Mac OS
1.1 VPN Client Agent Installation
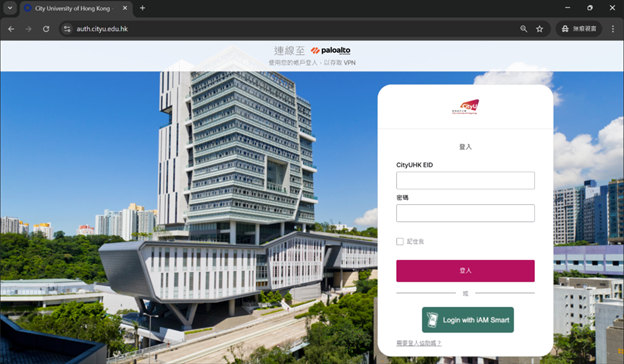
- Use a web browser to visit the "CityUHK VPN portal" at https://ivpn.cityu.edu.hk.
- You will be redirected to the CityUHK sign-in page. Please enter your CItyUHK EID and password, then click "Sign In" to log in via Okta.
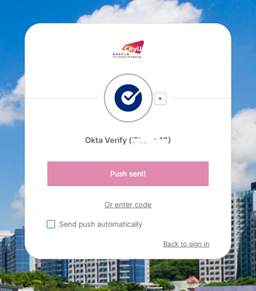
- In the "Okta Verify" menu, click "Send Push" or "Enter Code". Then, check the "Okta Verify App" on your mobile phone.
- Click "Yes, it's me" on on the mobile app to confirm (if you selected "Send Push")
- Enter the one-time password shown on the mobile app (if you selected "Enter Code")
- After successful login, You will see the Palo Alto GlobalProtect portal page.
- You may download the appropriate version of the GlobalProtect agent according to your computer's Operating System (O/S).
(Note: For Windows users, if you are not sure to use the 32-bit or the 64-bit GlobalProtect agent, please refer to Q2 of the FAQs). - After downloading the GlobalProtect agent software, you can install it on your computer according to setup wizard.
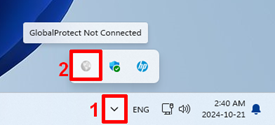
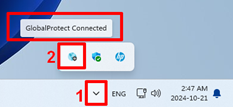
- After successful installation, you will find the GlobalProtect icon in the system tray of your computer:

| Computers | Download Option |
| For 32-bit Windows O/S | Windows 32-bit GlobalProtect agent |
| For Windows 10 and above | Windows 64-bit GlobalProtect agent |
| For Apple Mac O/S 13 and above | Mac 32/64-bit GlobalProtect agent |

1.2 Setup VPN Portal Address and Connect
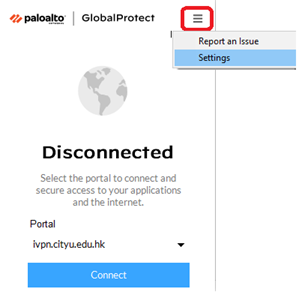
- You can invoke the GlobalProtect agent by clicking the GlobalProtect icon in the system tray.
- When the "Welcome!" menu appear, click "Get Started" to proceed.
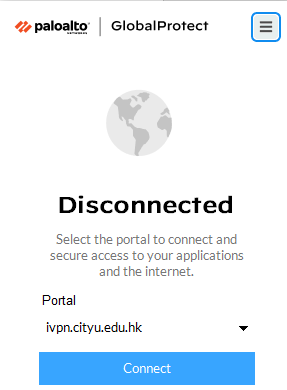
- Enter the Portal Address "ivpn.cityu.edu.hk" in the address field and click "Connect".
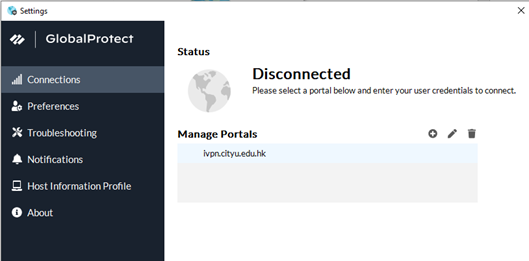
- Or click on the Settings menu, edit
 or add
  portal address "ivpn.cityu.edu.hk" under Connections settings.
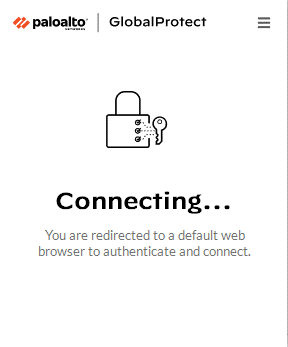
 - The sytem will redirect you to the CityUHK sign-in page. Please enter your CityUHK EID and password to sign in.
- Authentication will go through Okta process, same as Step 3 under Section 1.1: VPN Client Agent Installation of this guideline.
- When the "Open GlobalProtect?" menu appears, click "Open GlobalProtect". The GlobalProtect icon on the system tray will change from "GlobalProtect Disconnected" to "GlobalProtect Connected" upon successful login.
- For subsequent connection, navigate to system tray area and click on the GlobalProtect icon. Click "Connect" at the agent dialog box.
- Follow the login and authentication process under aforesaid steps 5 and 6.


2. For mobile devices running iOS
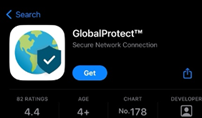
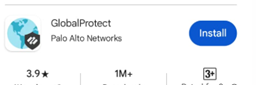
- Search and install the app in App Store.
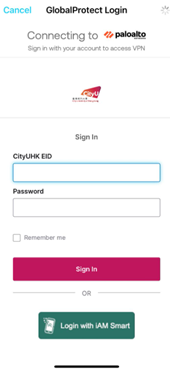
- Launch the app
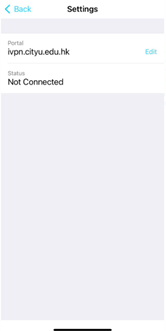
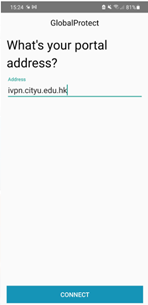
- Setup GlobalProtect Gateway Address (ivpn.cityu.edu.hk).
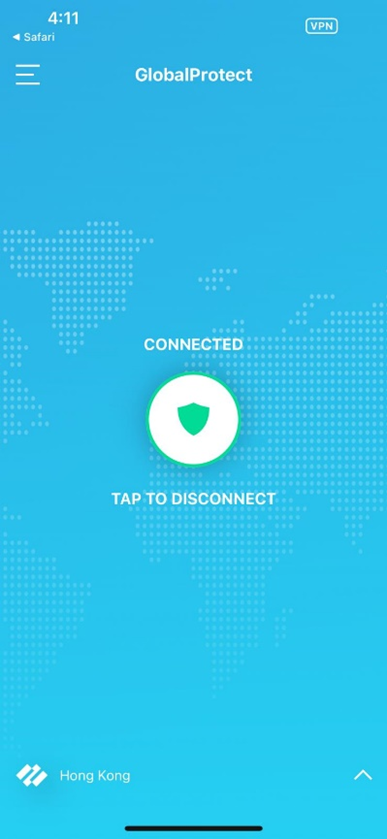
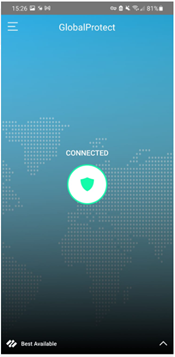
- Click "TAP TO CONNECT" and login, go through the authentication process. You will see "CONNECTED" on app.


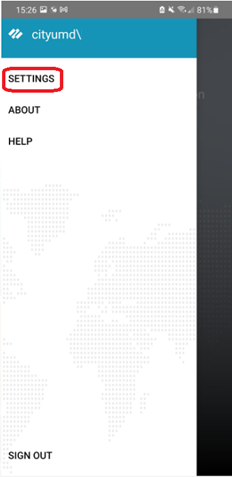
3. For mobile devices running Android
- Search and install the app in Play Store.
- Launch the app

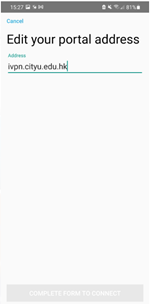
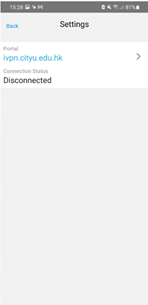
- Setup GlobalProtect Gateway Address (ivpn.cityu.edu.hk).
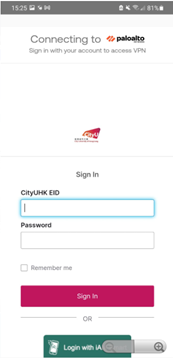
- Click "TAP TO CONNECT" and login, go through the authentication process. You will see "CONNECTED" on app.

4. Frequently Asked Questions (FAQs)
Q1: When I login the VPN, the software prompt for update, what should I do??
Q1: When I login the VPN, the software prompt for update, what should I do?
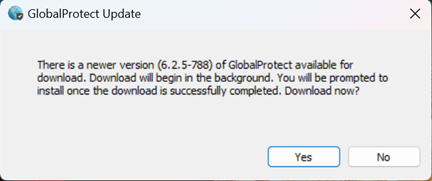
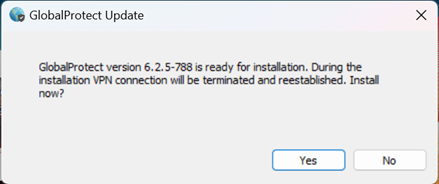
A1: If you are using the agent with outdated version, the system will prompt for update as below screen.
- Click "Yes" when the system prompt for update, then wait for download.
- After the download completed, you will see below prompt and click "Yes" to install.
- After the installation, system will start VPN connection and prompt for Okta authentication.
- Authentication will go through Okta process, same as step 3 under Section 1.1: VPN Client Agent Installation of this guideline.

Steps to udpate the agent:
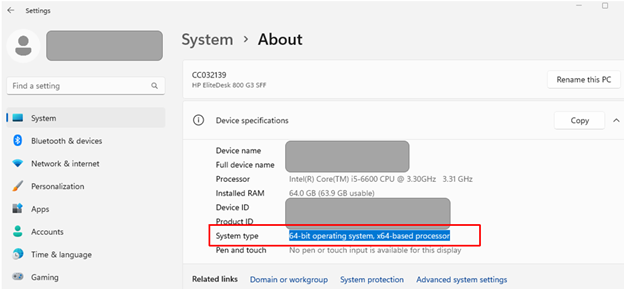
Q2: My computer is running Microsoft Windows. Which one should I install among the "Windows 32-bit GlobalProtect agent" and "Windows 64-bit GlobalProtect agent"?
A2: Most modern PCs are pre-installed with 64-bit Windows operating system. If you want to confirm which version of Windows you are using, you may use the following steps:
- Click the Start button, then select Settings ➔ System ➔ About;
- Locate your System type under "Device Specifications".
Q3: I cannot successfully re-install the new GlobalProtect agent because my computer has installed old GlobalProtect software. What should I do?
A3: You should uninstall the old GlobalProtect agent before installing the new GlobalProtect agent.
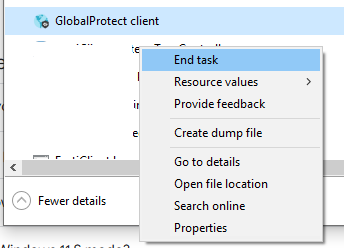
Q4: On Windows, the GlobalProtect software hanging and show connecting but not connected and could not manually refresh/disconnect the attempt.

A4: Open the "Task Manager" and kill the process "Global Protect client" via "End task", the Global Protect agent will re-run, and you can try to connect again.

IT.ServiceDesk@cityu.edu.hk