How to access my M365 account from my Android device?
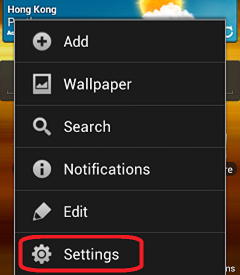
- Tap the option button when the device is on the home screen, then tap Settings.
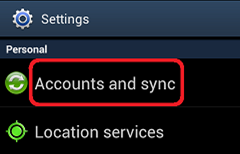
- Tap Accounts and sync.
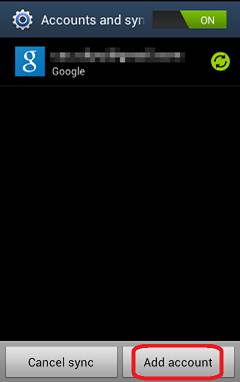
- Tap Add account.
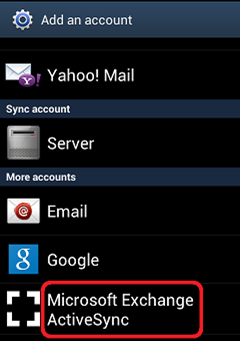
- Scroll to the bottom part of the screen and tap Microsoft Exchange ActiveSync.
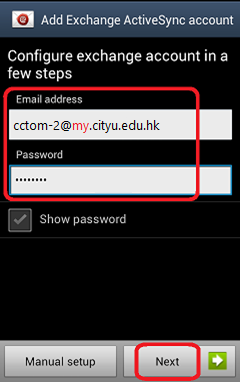
- Enter your M365 email address (e.g. cctom2-c@my.cityu.edu.hk) and password, then tap Next.
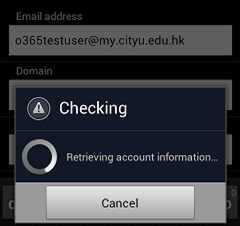
- Wait when the device is checking and retrieving the server and account settings from the Microsoft 365 system.
- When the "Exchange Server Settings" window appears, leave "Domain" empty, enter your M365 "User name"
(e.g. cctom2-c@my.cityu.edu.hk) Then tap Next.
(On some versions of Android, the domain\username format may be used instead. In such case you should enter
(use cctom2-c as example) "ad.cityu.edu.hk\cctom2-c@my.cityu.edu.hk".)

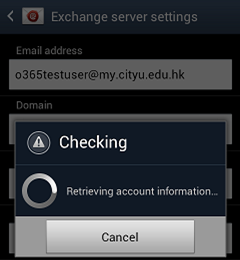
- Wait when the device is checking and verifying the settings.
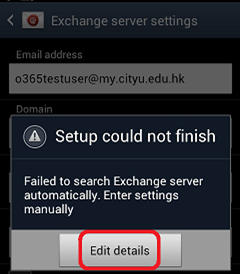
- Further information is required, tap Edit details.
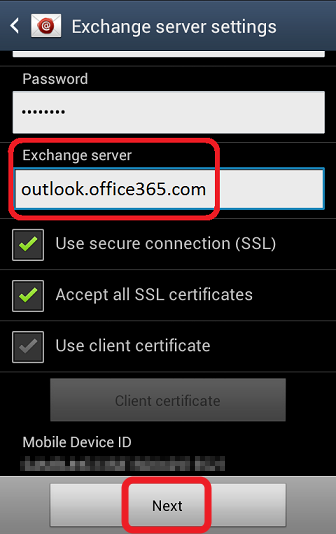
- Enter "outlook.office365.com" to the "Exchange server" field and tap Next.
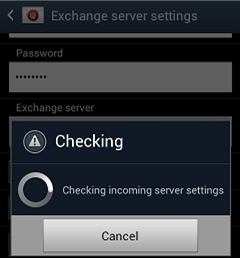
- Wait when the device is checking and verifying the settings again.
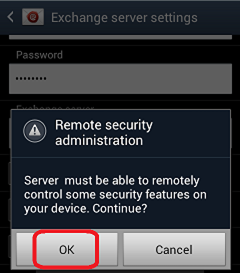
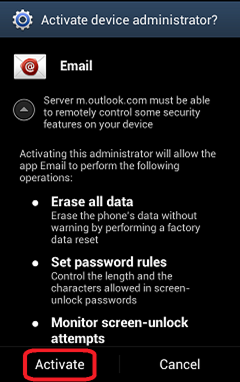
- When verification is done, the server must be able to remotely control some of the security features on your device,
tap OK.
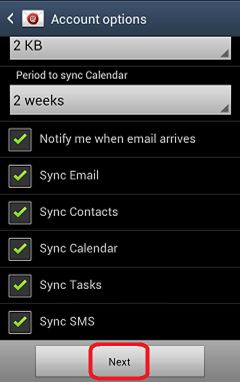
- You will be asked how often the server will sync with your device, the size of the emails to retrieve...etc.
Please configure according to your usage.
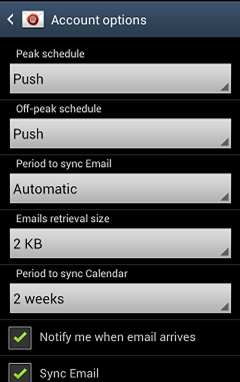
- Scroll to the bottom, select the service(s) according to your usage. Tap Next.
- Tap Activate to activate the device administrator (for the server "outlook.office365.com").
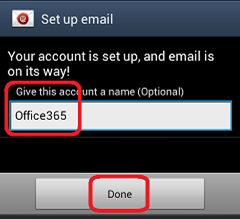
- Give this account a name (e.g. Office365) and tap Done.
Return to FAQs on CityU Microsoft 365
IT.ServiceDesk@cityu.edu.hk